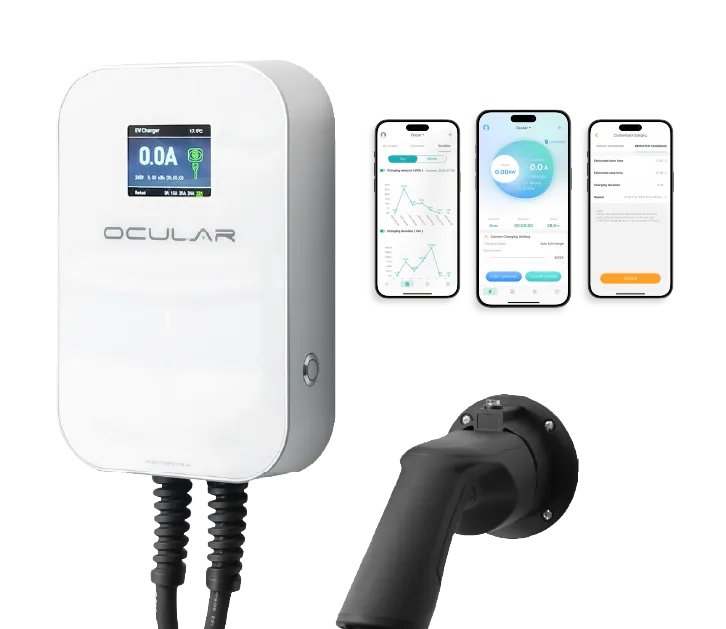
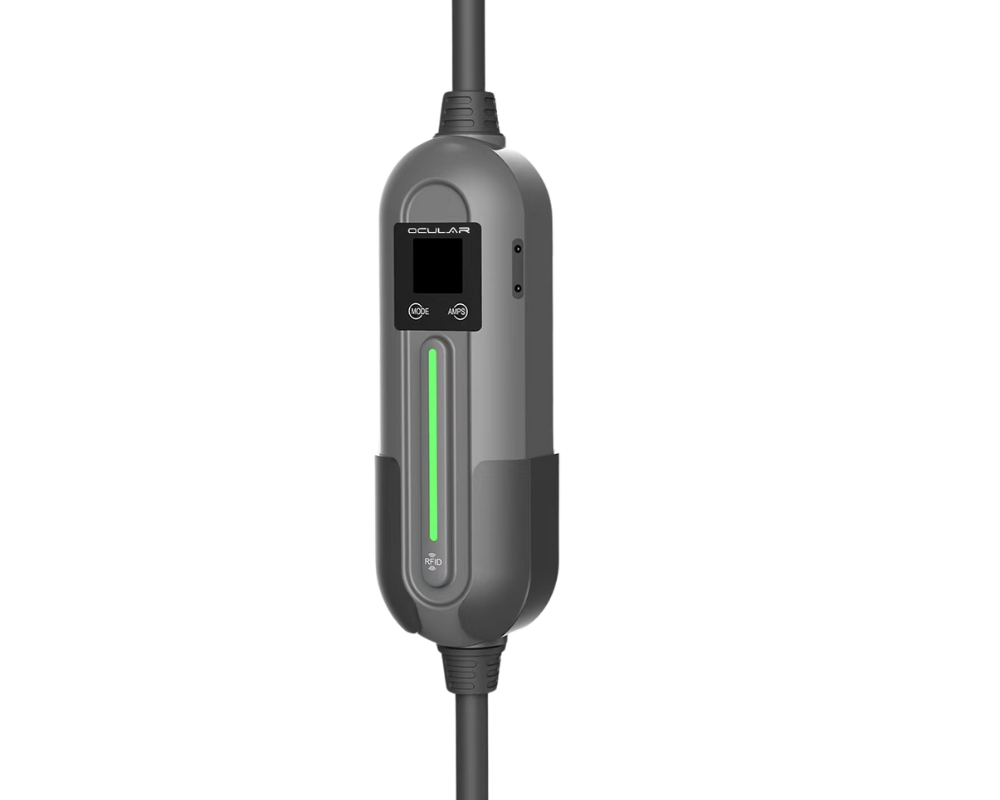
Residential EV Chargers
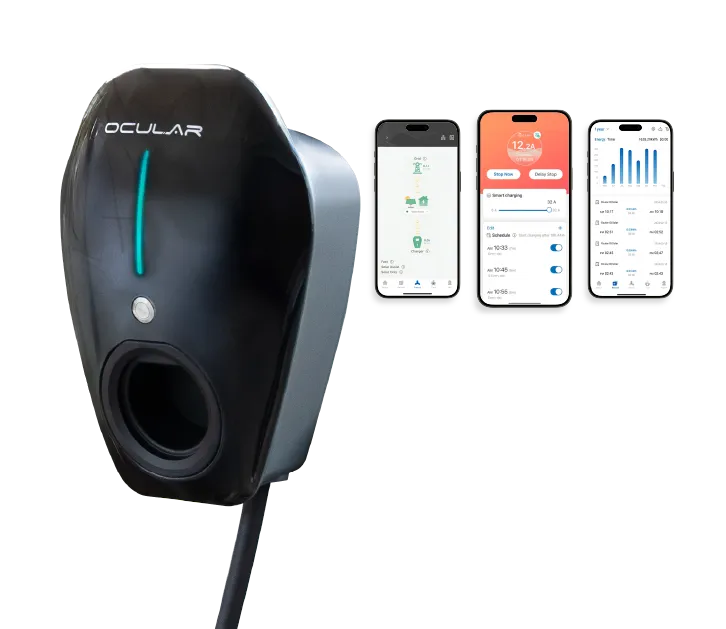
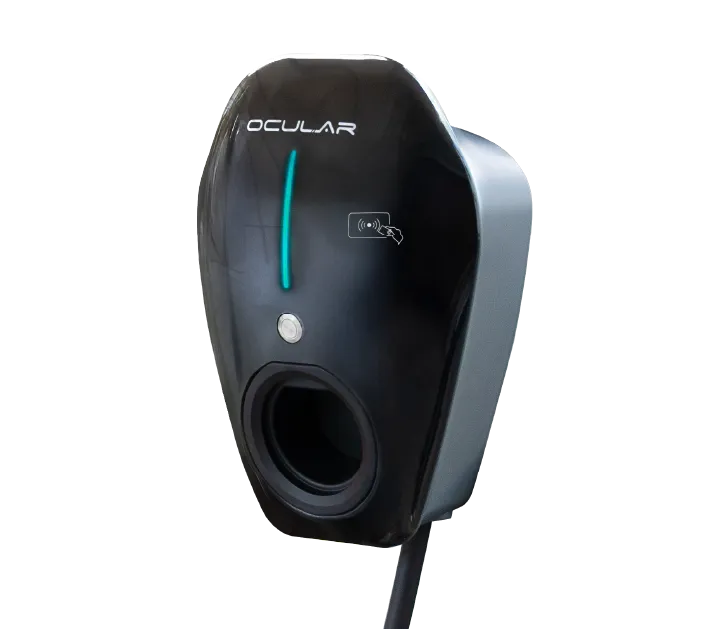
Commercial EV Chargers
DC Chargers
Residential EV Chargers
Commercial EV Chargers
DC Chargers
In this video, Will from Ocular Charging walks you through the step-by-step installation process of the Ocular Atlas DC Fast Charger.
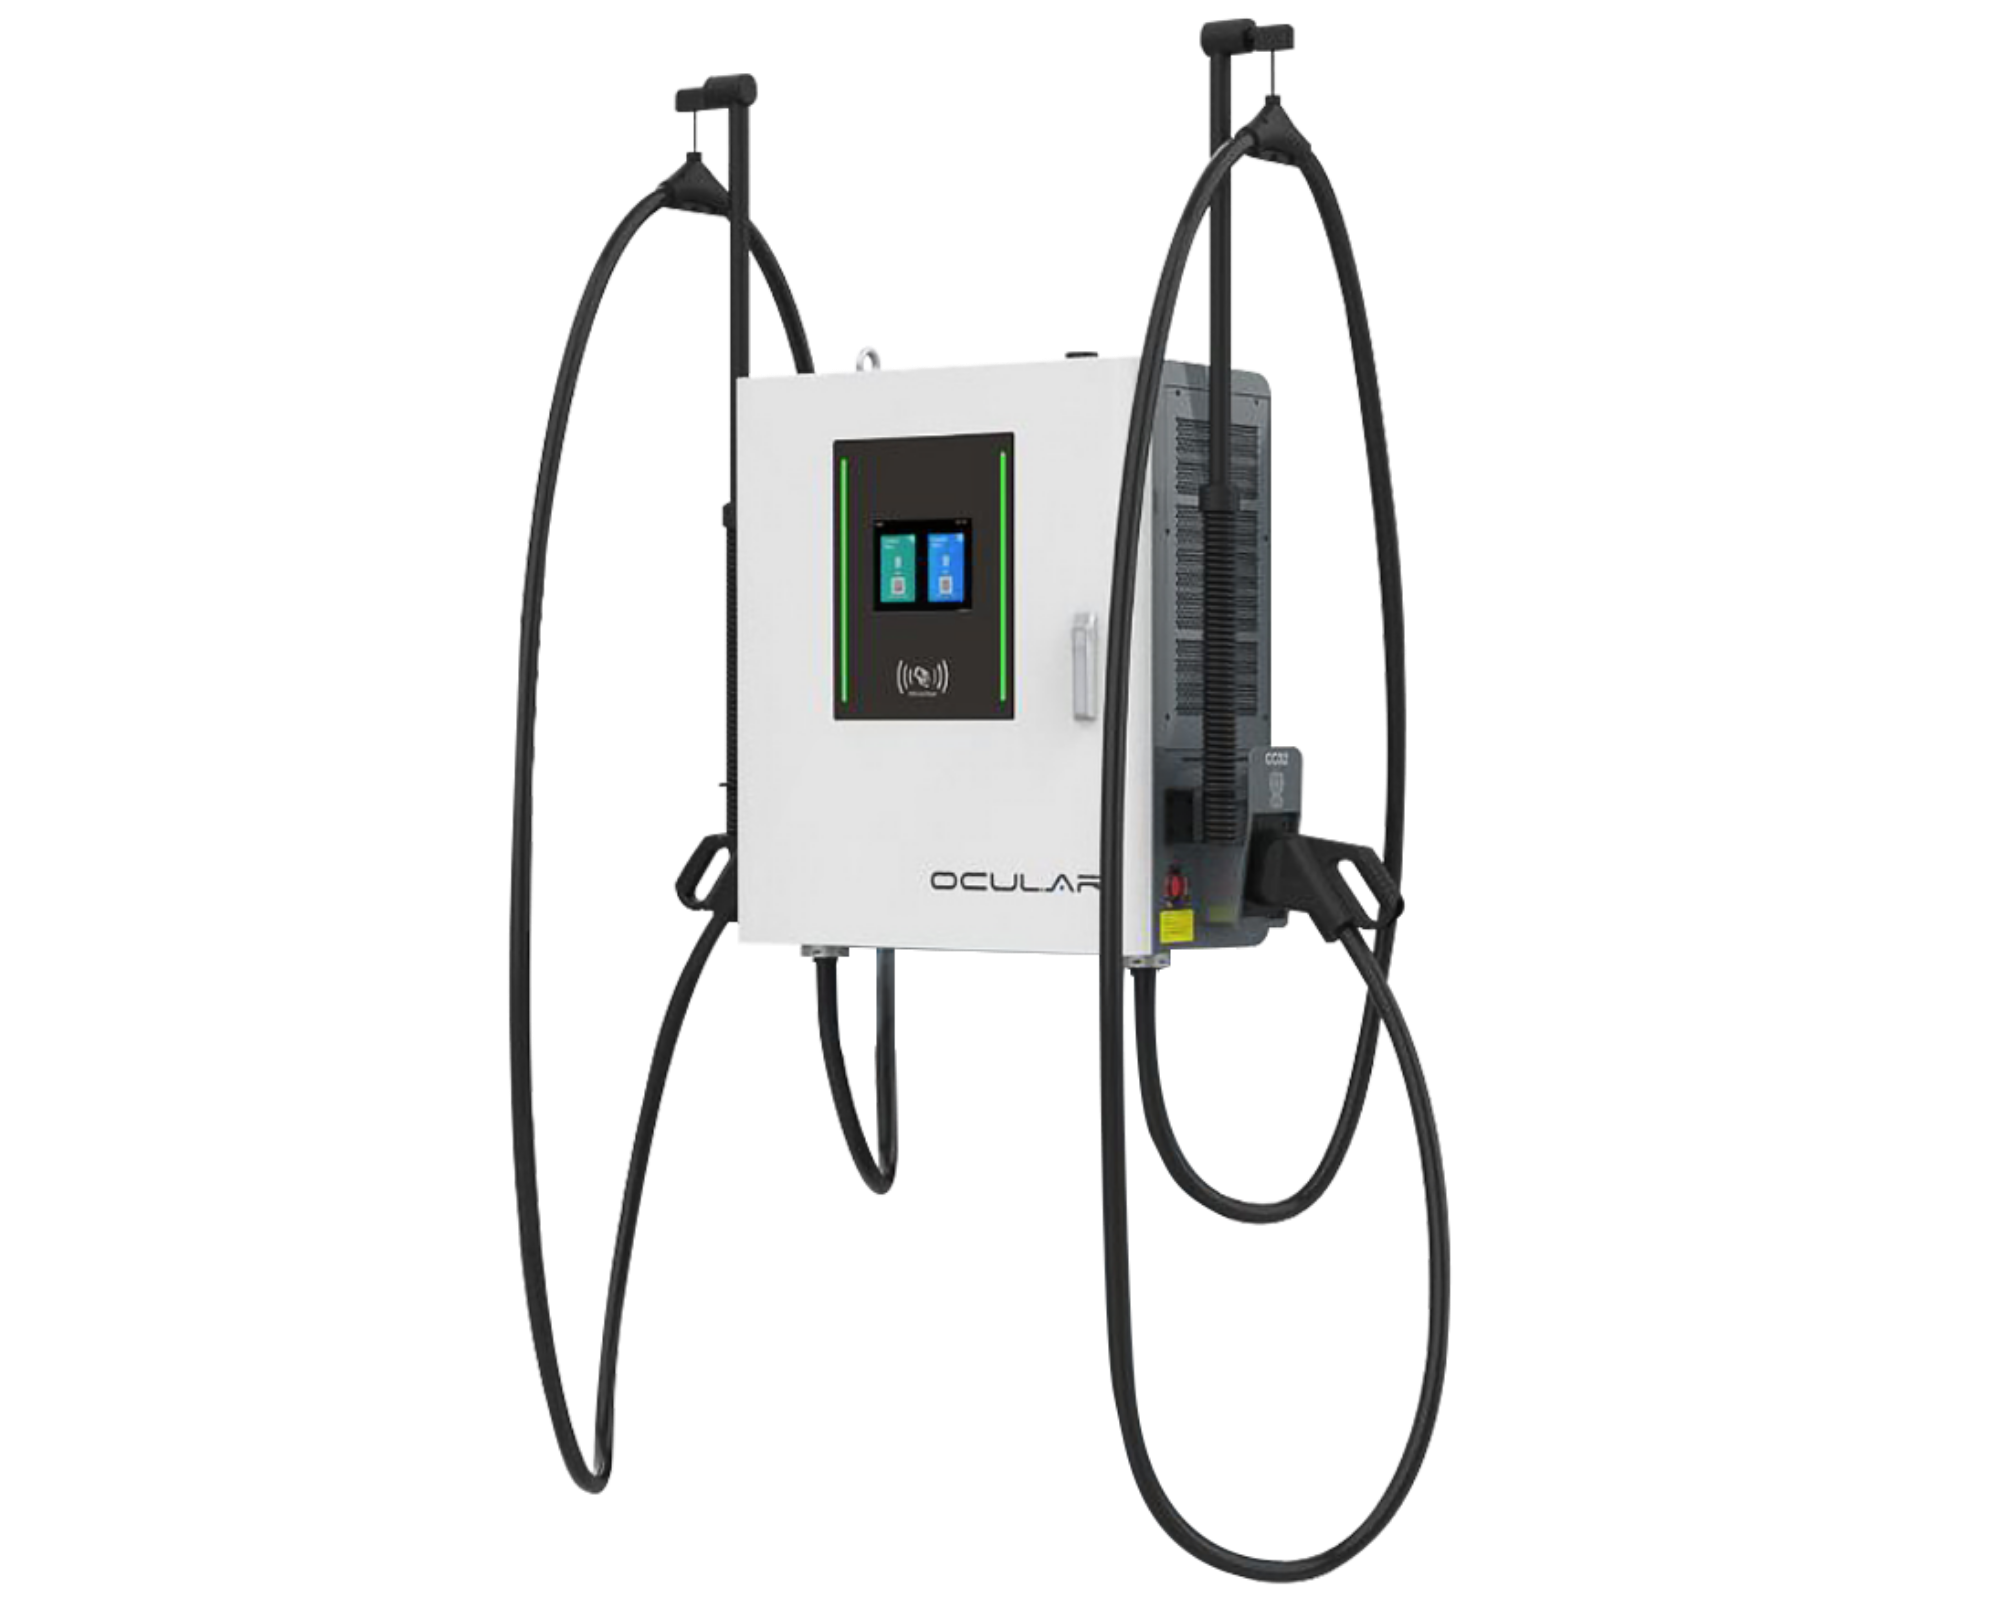
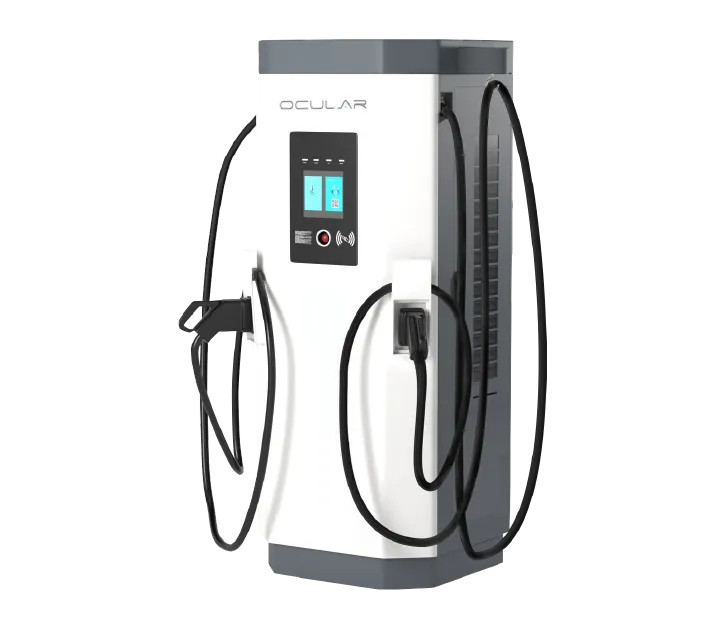
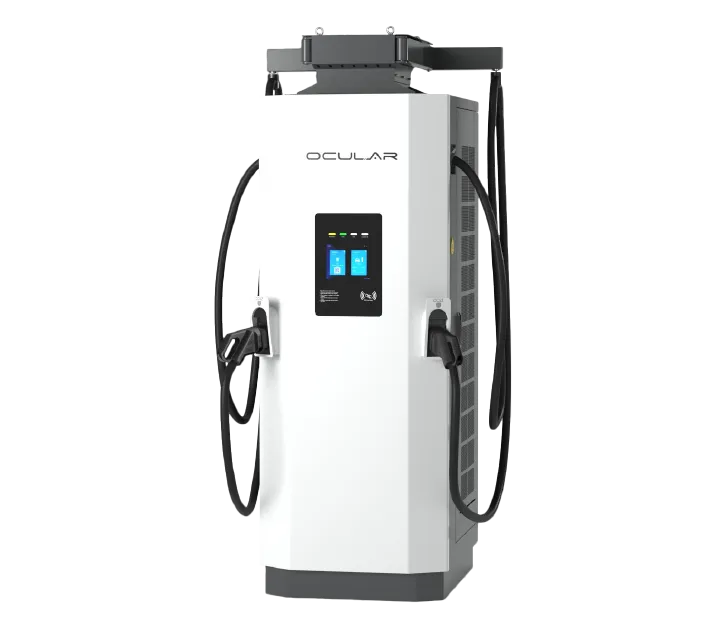
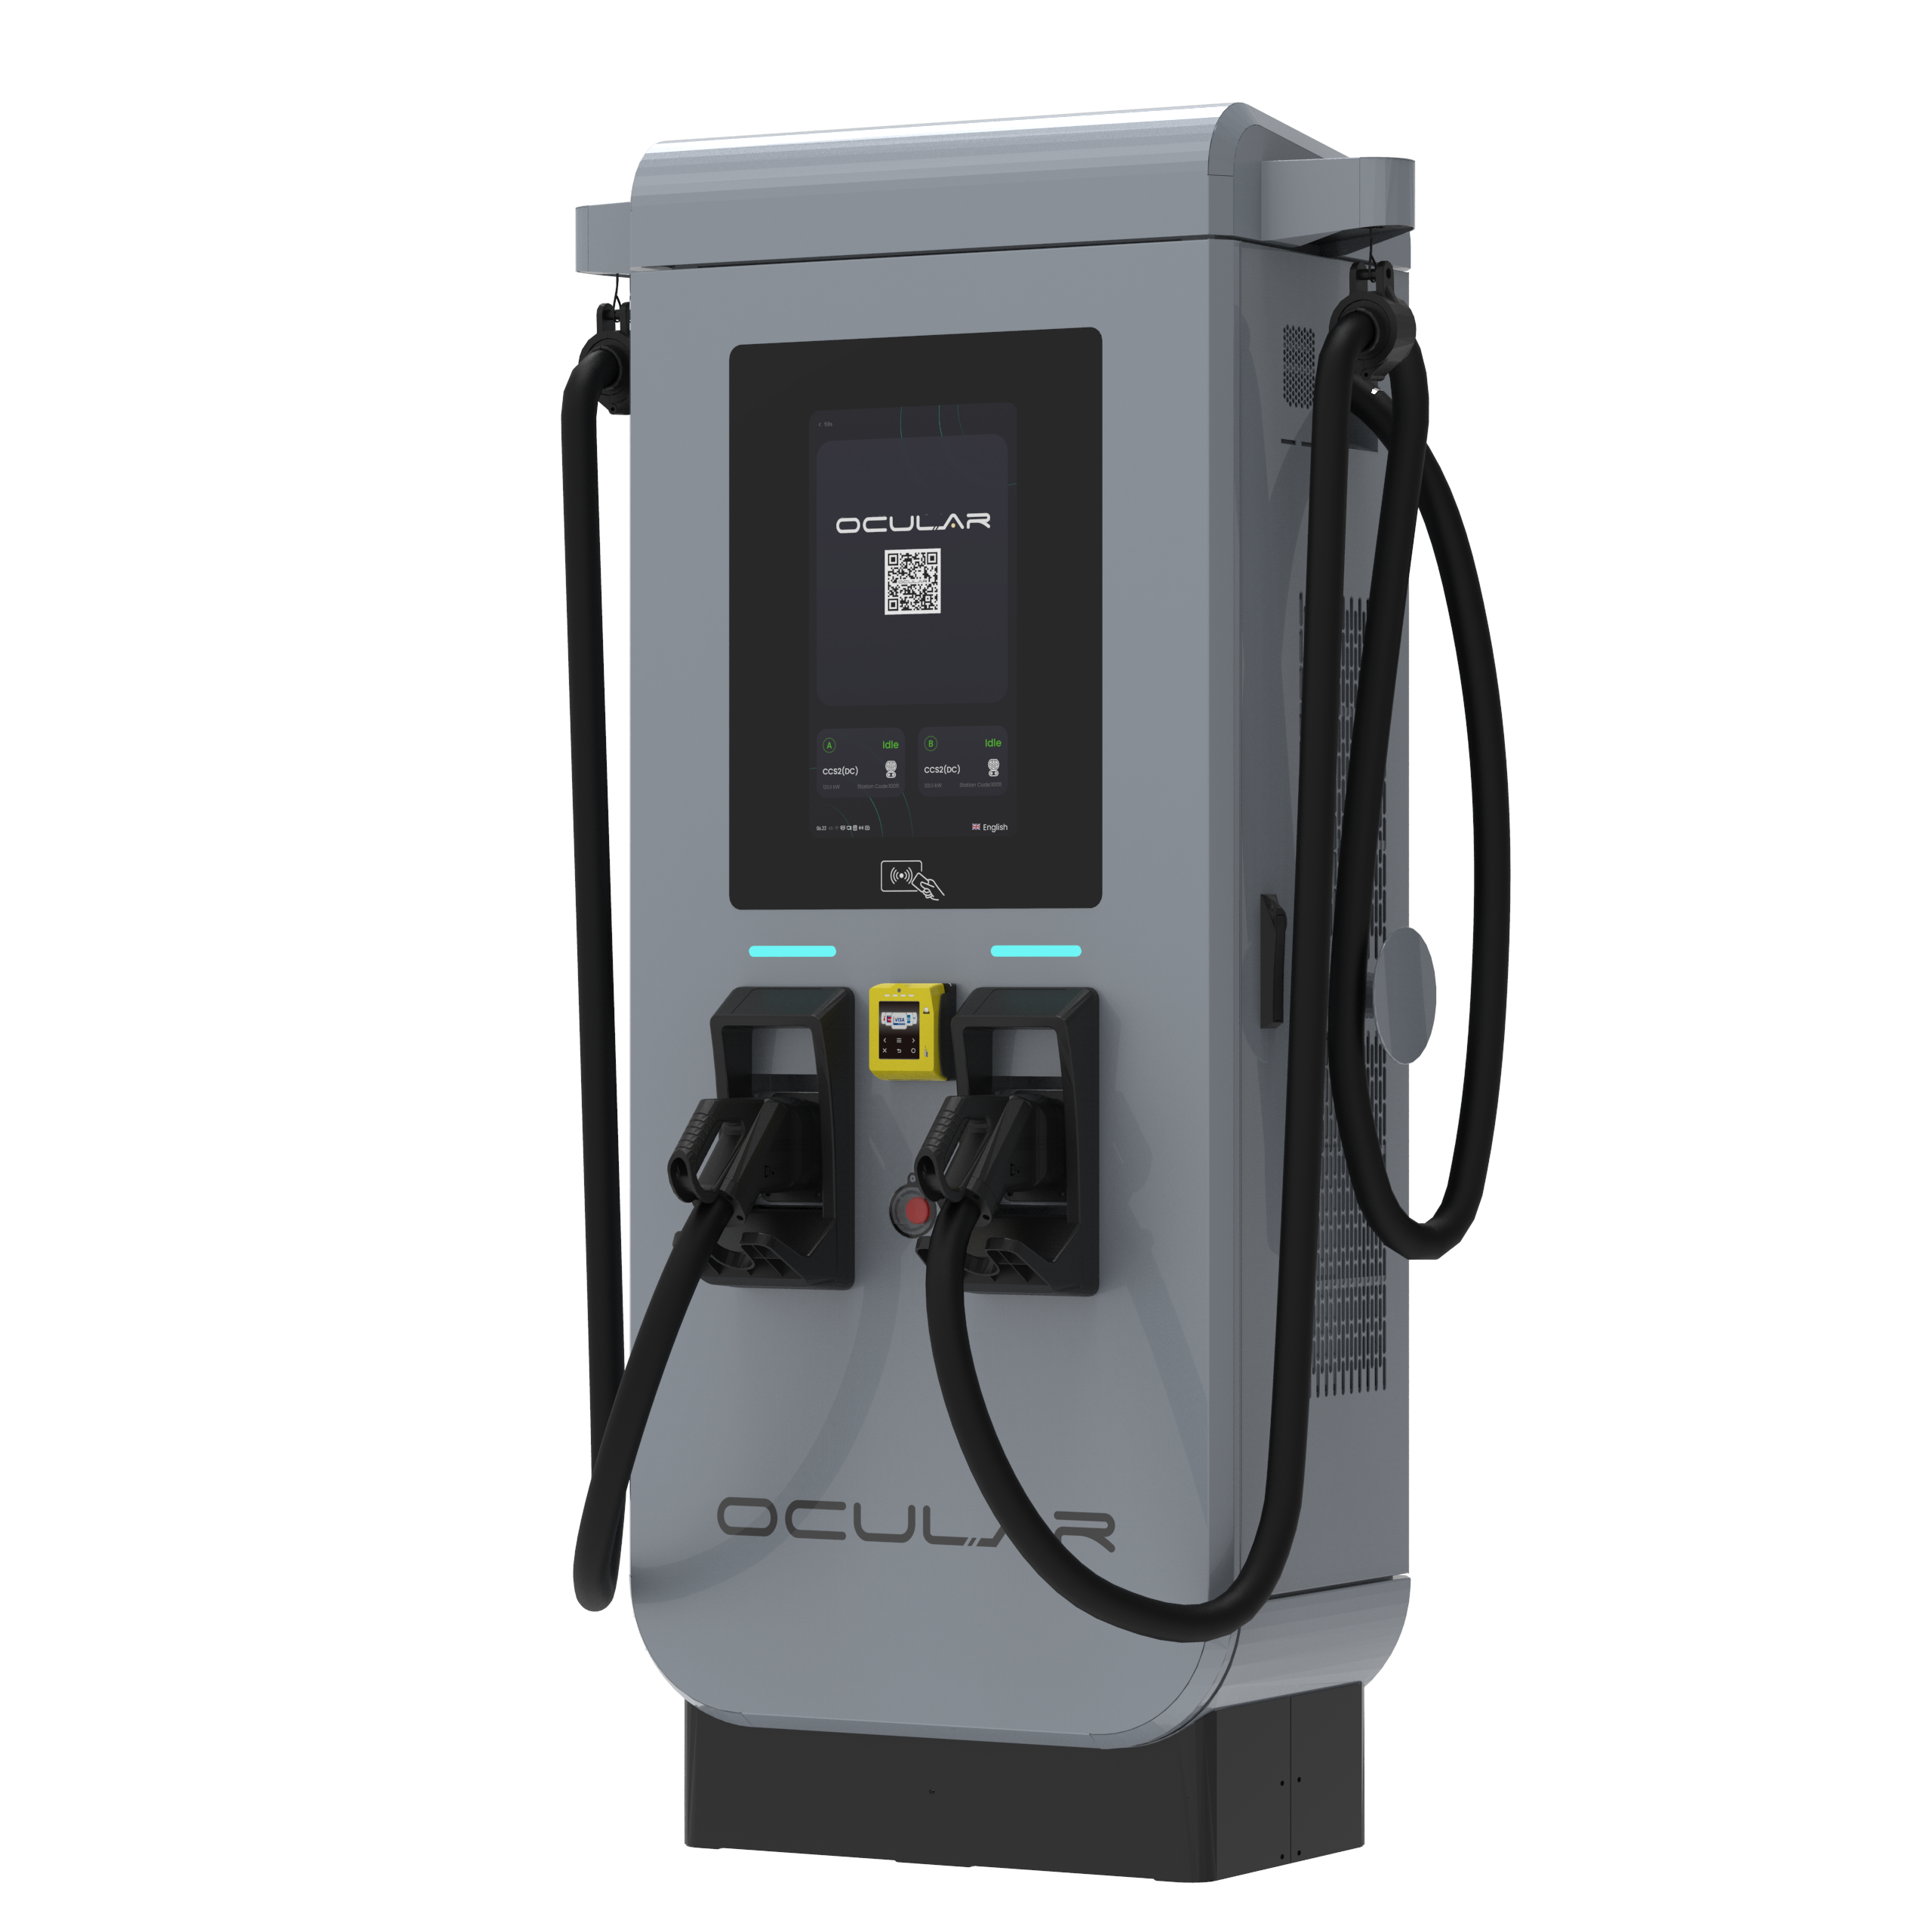
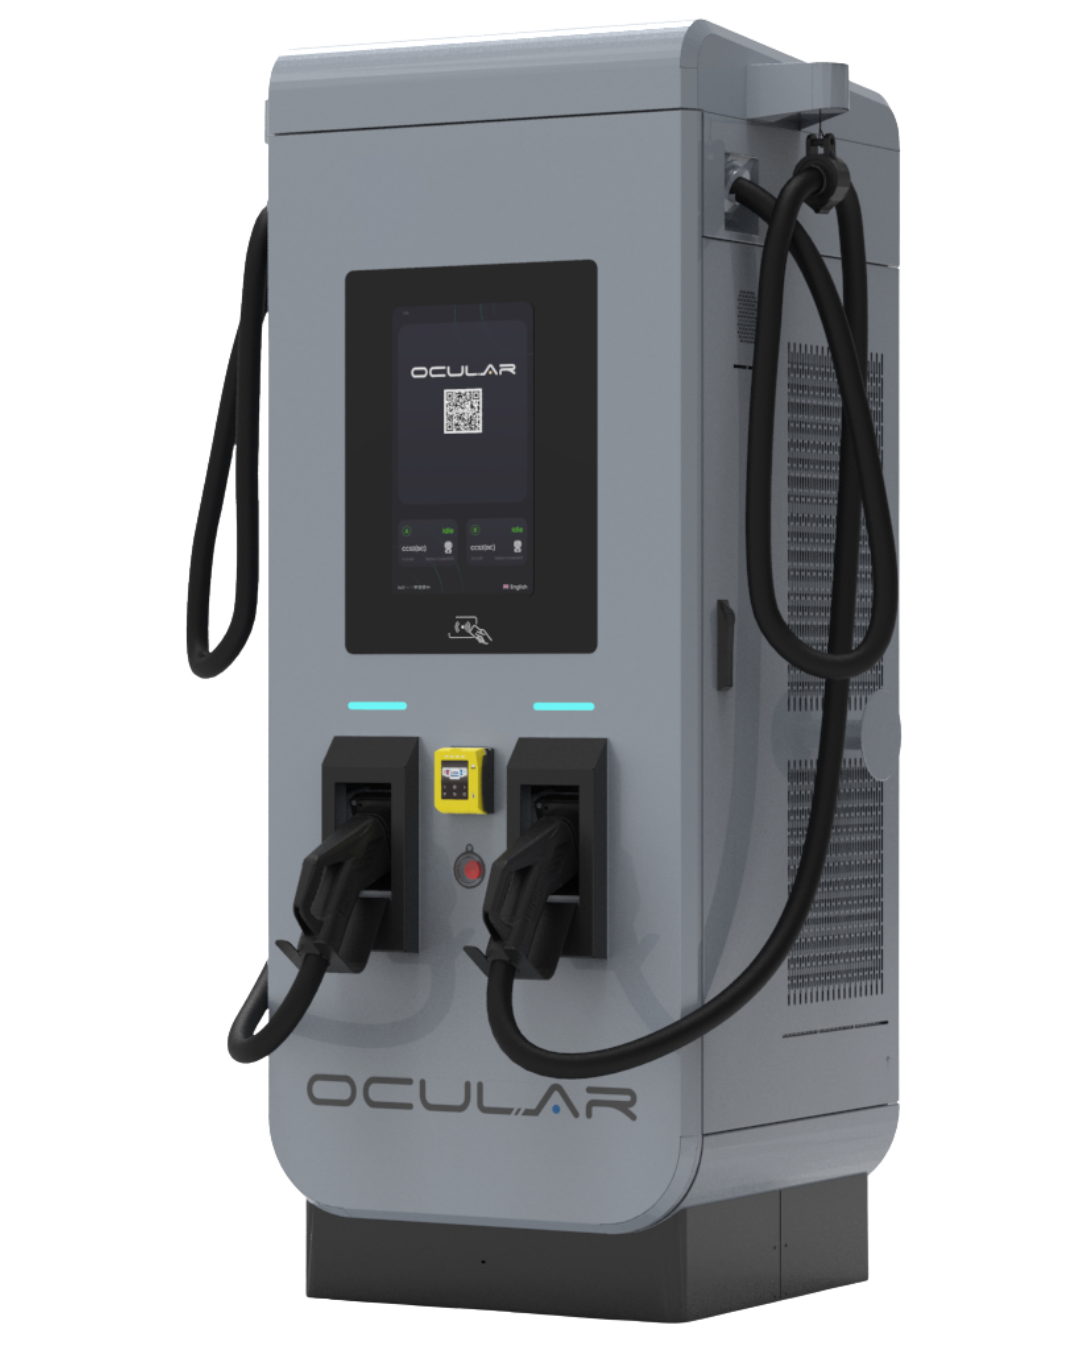
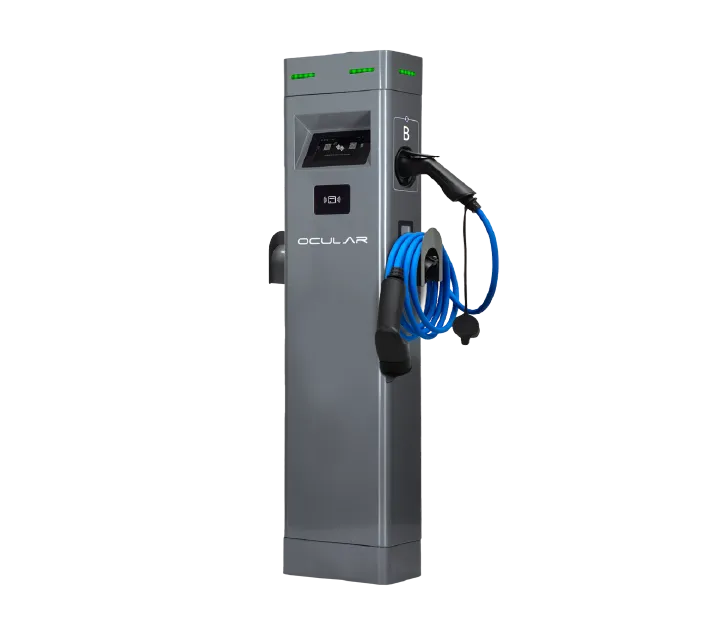
The Atlas is available in 60kW, 90kW, 120kW, 150kW, and 180kW configurations and can charge two vehicles simultaneously. While all models follow a similar installation process, larger units (150kW & 180kW) require additional planning due to their bigger footprint.
You’ll learn how to:
✅ Prepare the foundation and position the charger
✅ Wire the power supply and connect to the termination block
✅ Set up Internet connection (Ethernet or 4G)
✅ Complete post-installation testing to AS/NZS 3000 standards
✅ Verify connectivity icons (Ethernet, 4G, Wi-Fi, OCPP)
✅ Final checks before your charger goes live
⚠️ Important: Installation must be carried out by a licensed electrician following all relevant safety standards. Always isolate the electrical circuit before work begins.
For more detailed instructions, please refer to the official Atlas DC Charger Installation Guide. https://ocularcharging.com.au/ocular-…
What are you looking for?
Newsletter
Be the first to receive the latest OCULAR news, events and product updates.
"*" indicates required fields
Want to be a part of the electric vehicle revolution? We’re looking for the world’s best installers to join our journey and help the much-needed expansion of charging infrastructure around the world.
[email protected] 1300 912 650