With the growth of electric vehicles (EVs), homeowners are now more inclined to install trusted EV chargers in their homes. This change is an excellent opportunity for electricians to branch out and satisfy the growing demand. If you’re considering starting this business, this guide is the step-by-step process for starting home EV charger installation.
Understanding EV Chargers
Prior to installing EV chargers, it is important to know the various types available:
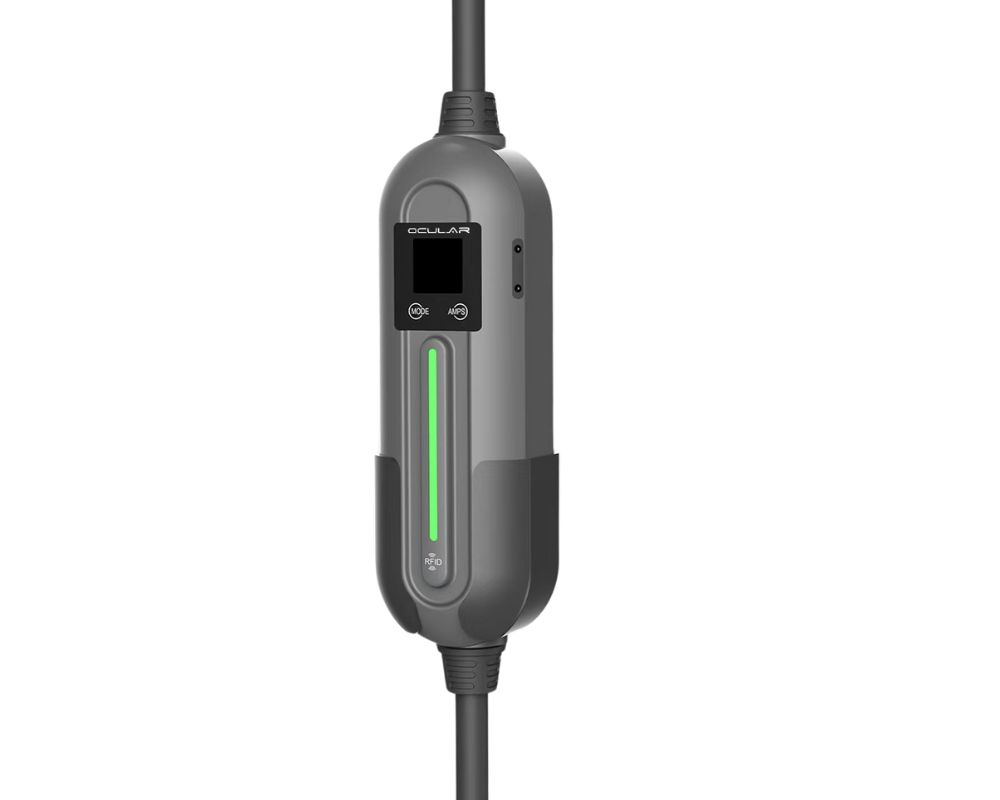
- Level 1 Chargers – They utilise a standard 10A household outlet and operate at a slow rate (8 AMPS) charging an EV in around 24 – 38 hours at a rate of 10km per hour of charge. Please note this is dependent on what vehicle is being charged.
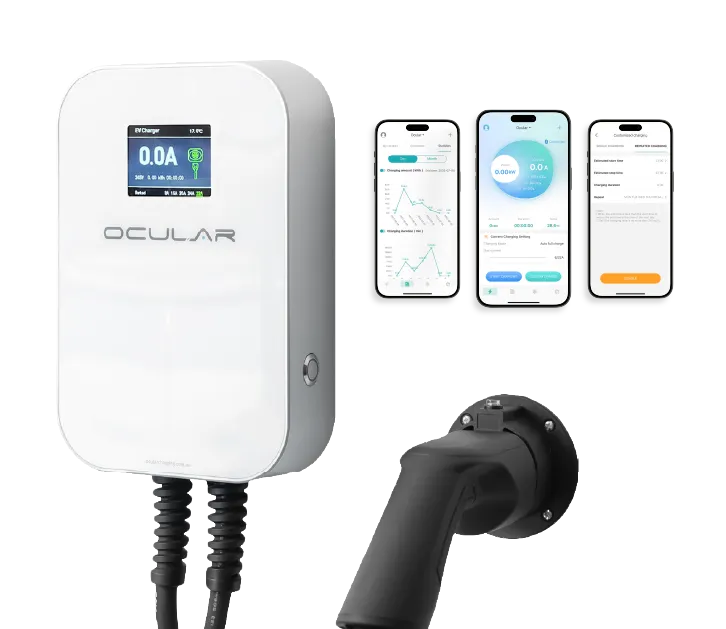
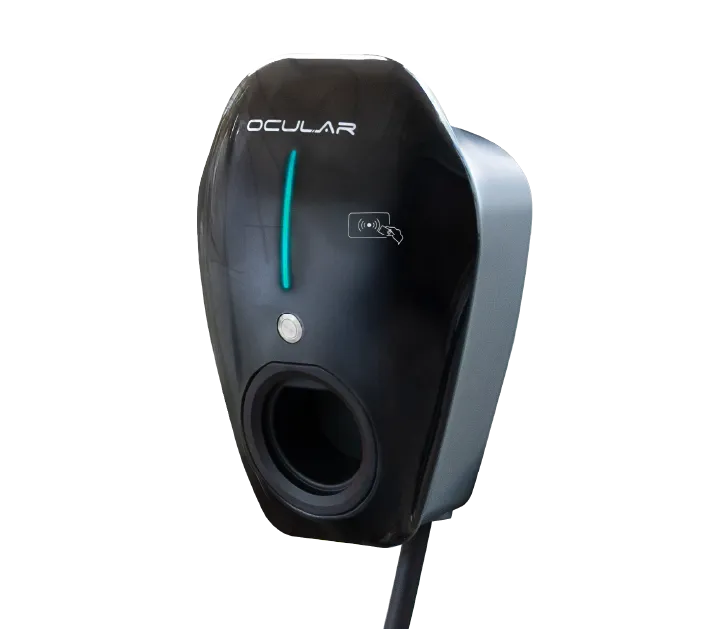
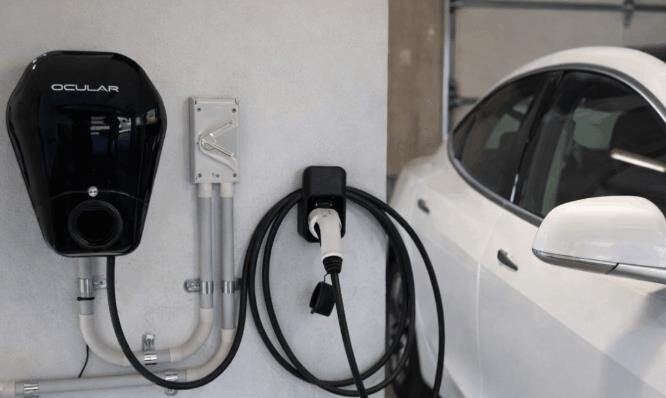
- Level 2 Chargers – These are wired directly to the houses electrical supply, through a switchboard and are the most common residential option. This option charges an EV in 4-12 hours. This is dependent on the household’s supply, the charger’s output and the EV’s charging capabilities.
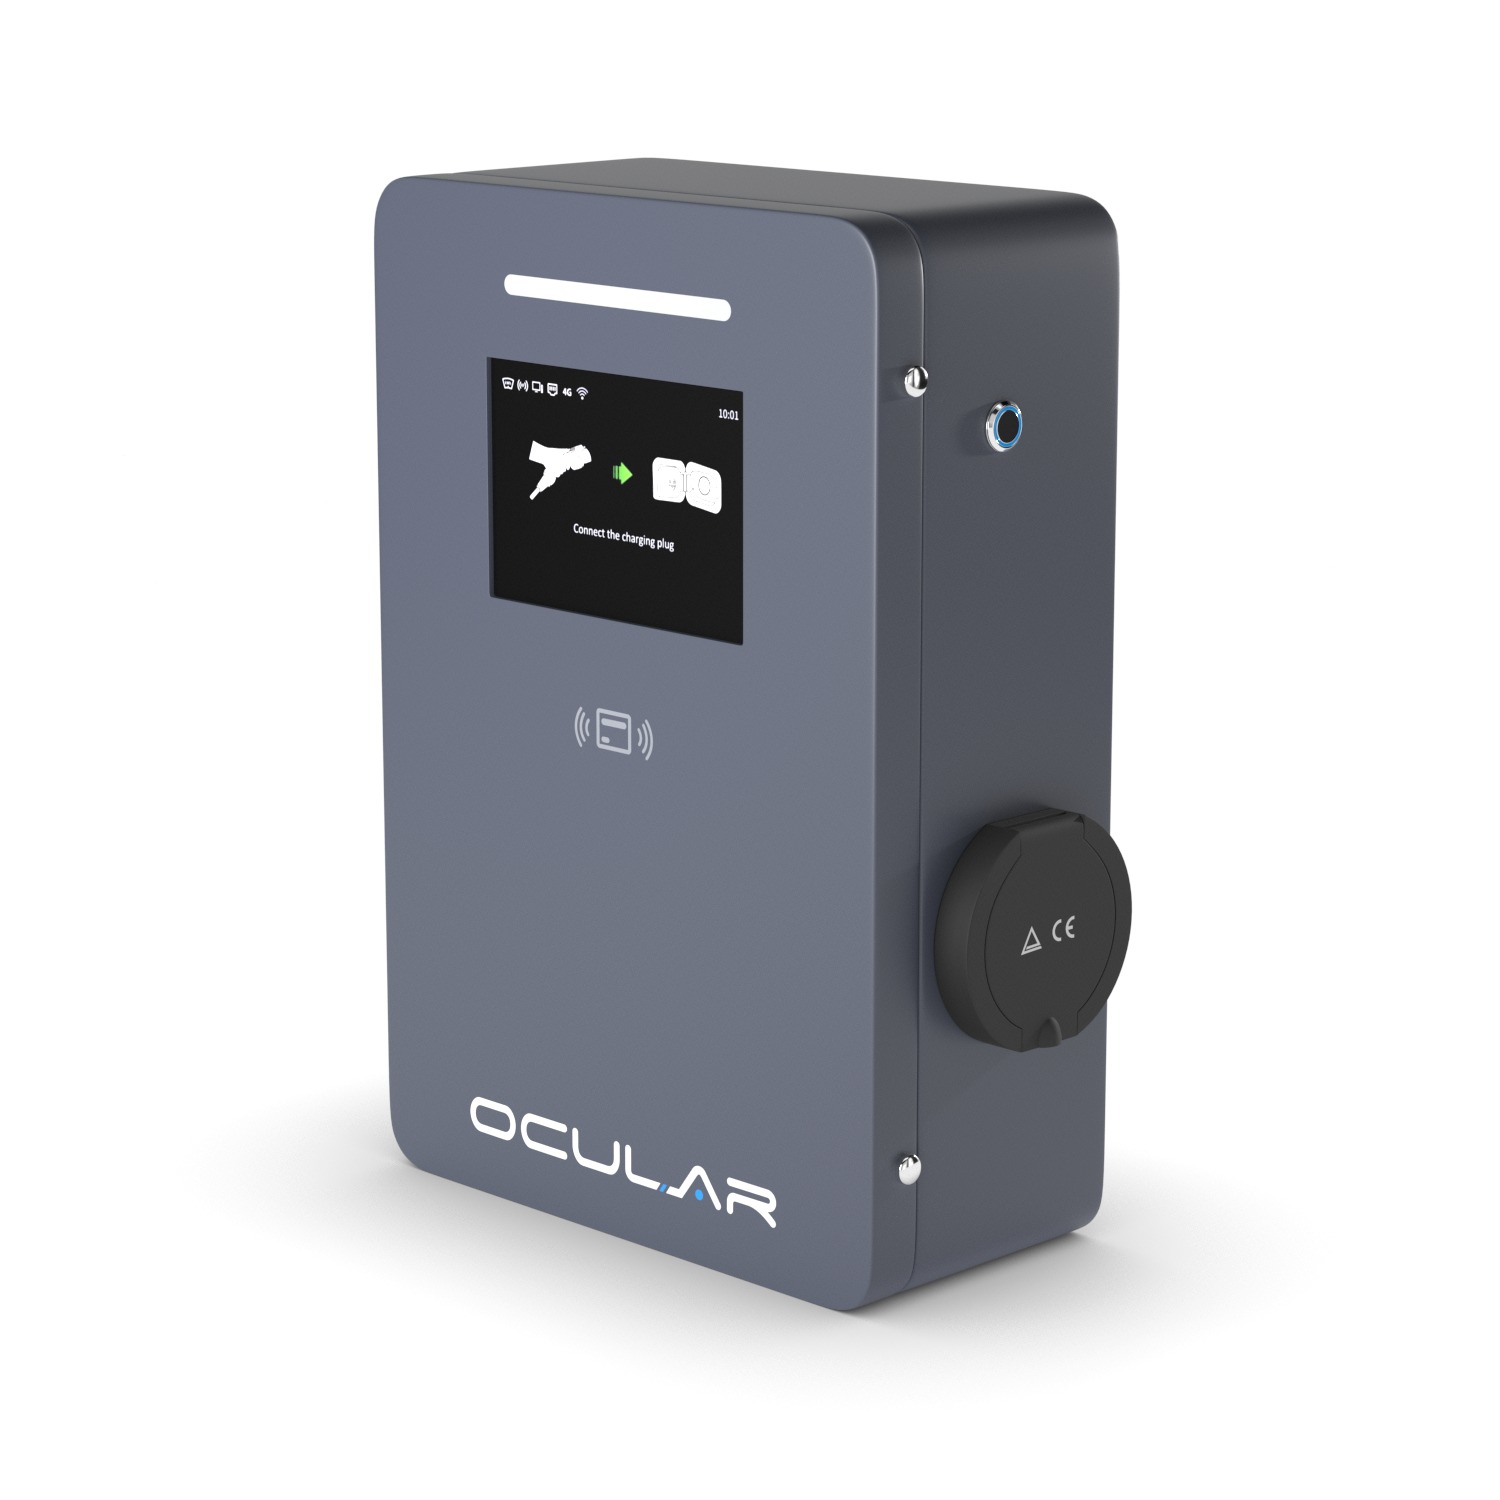
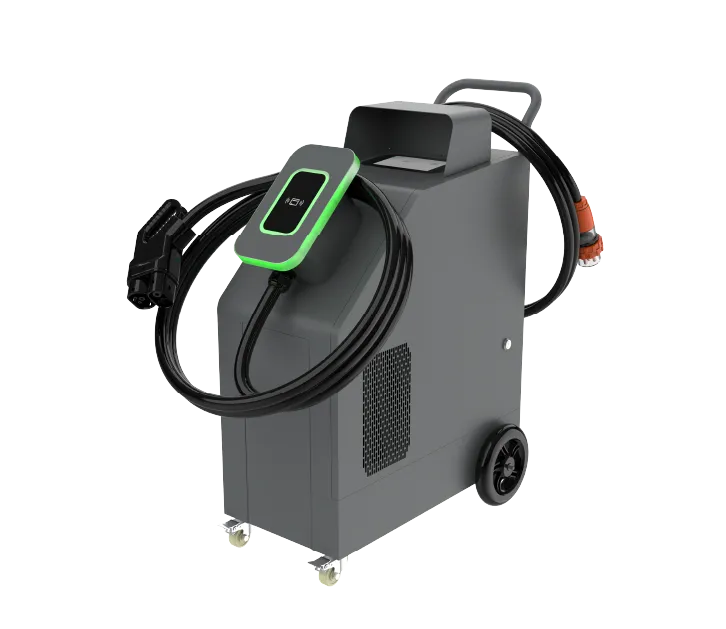
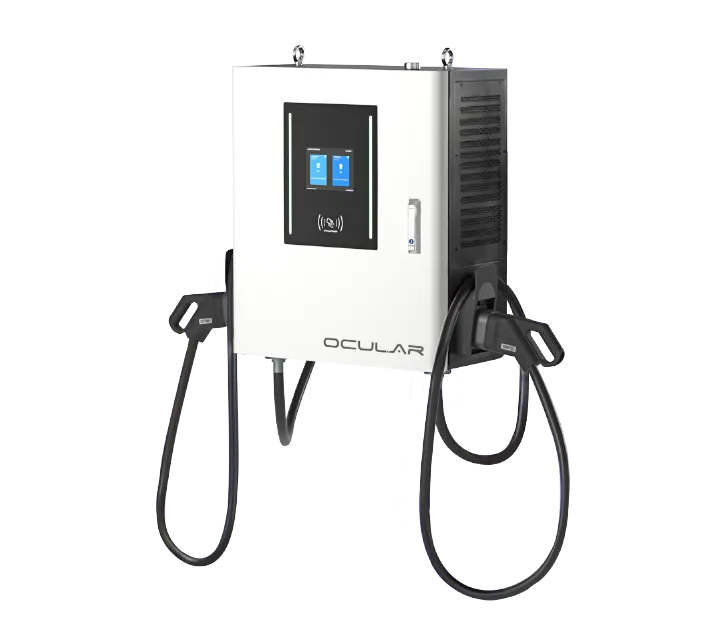
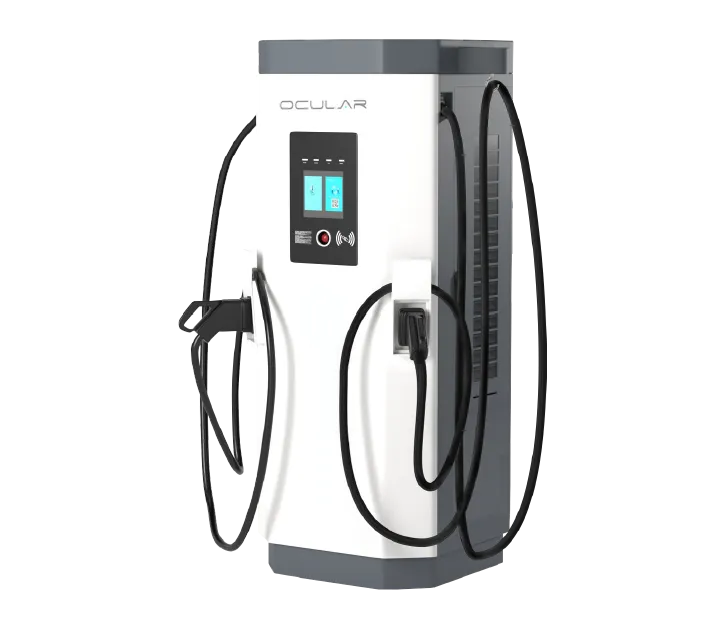
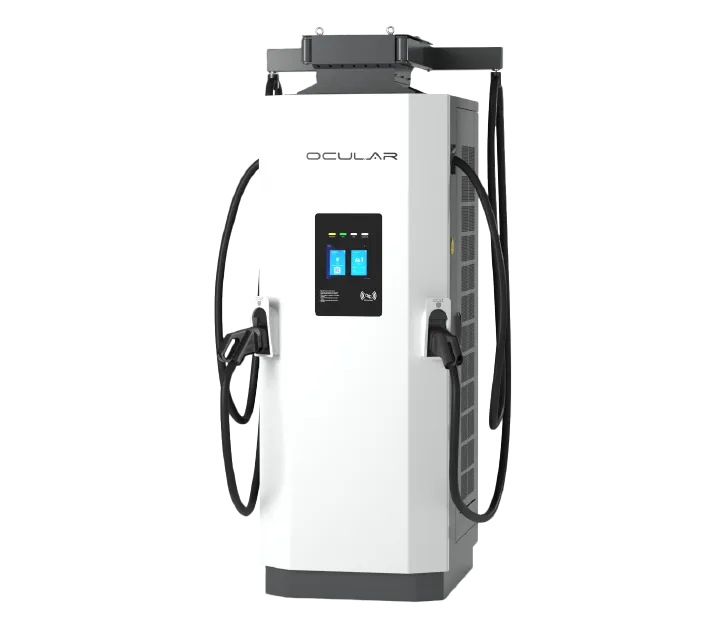
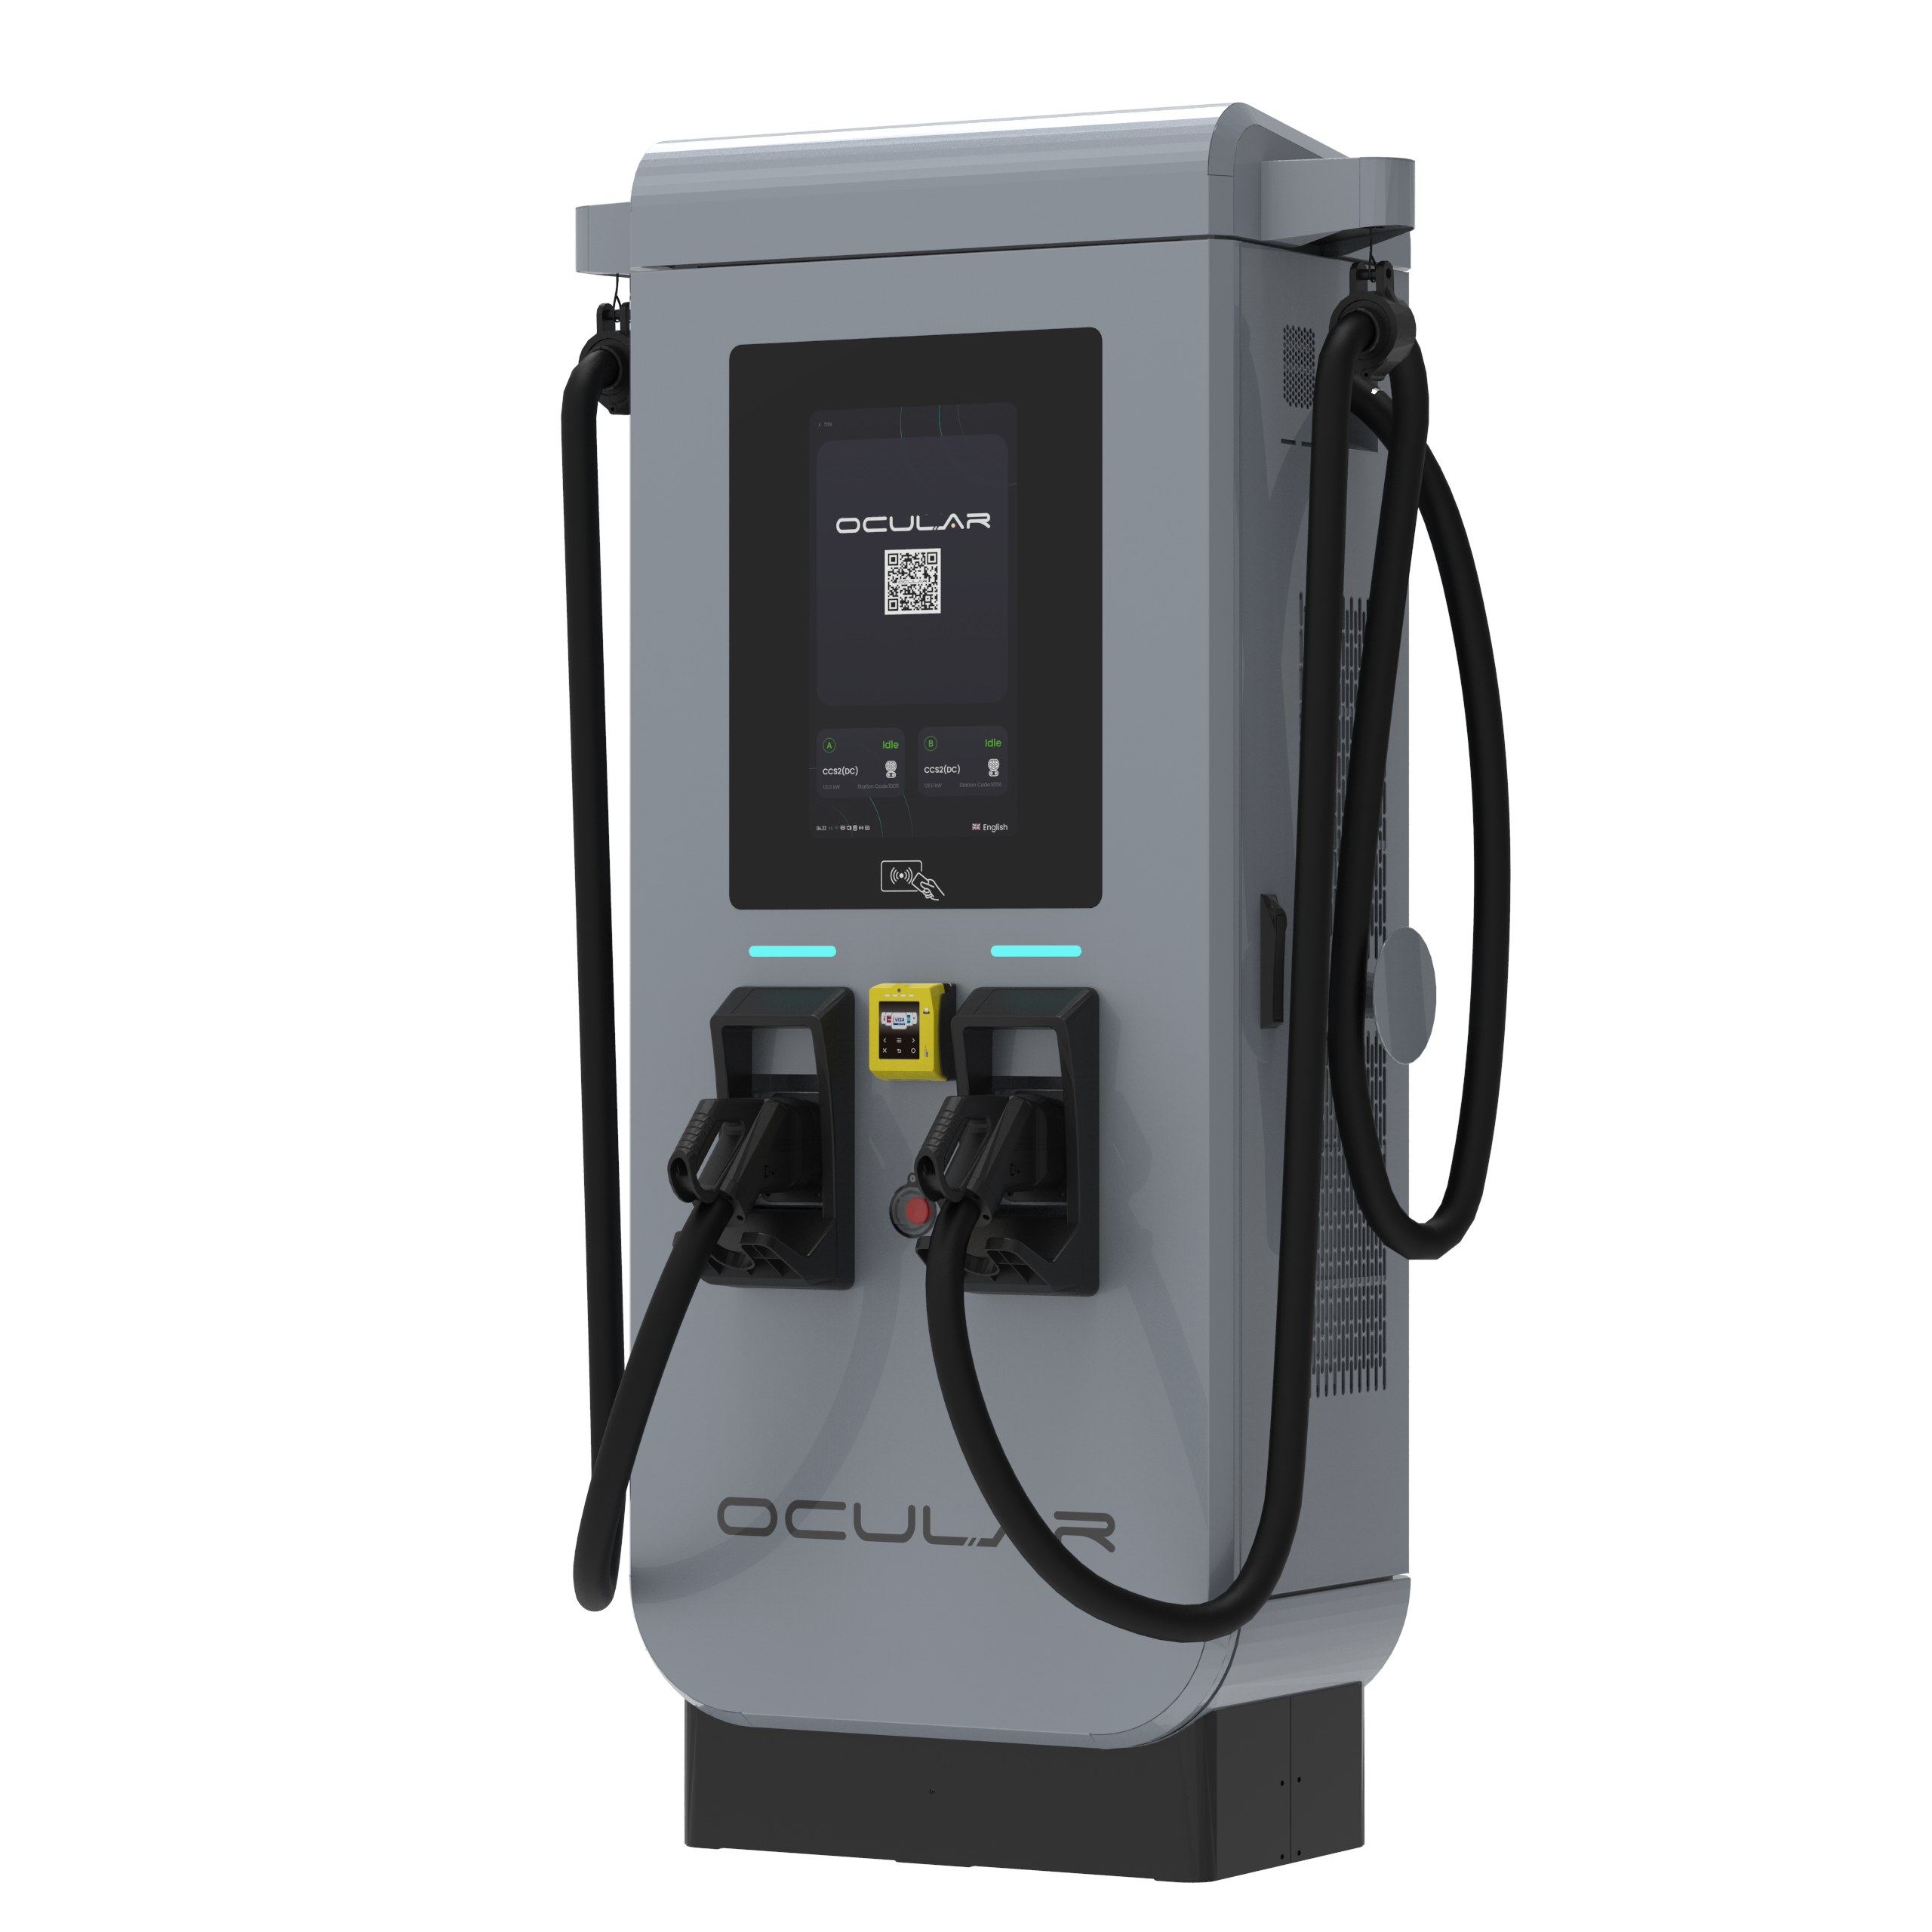
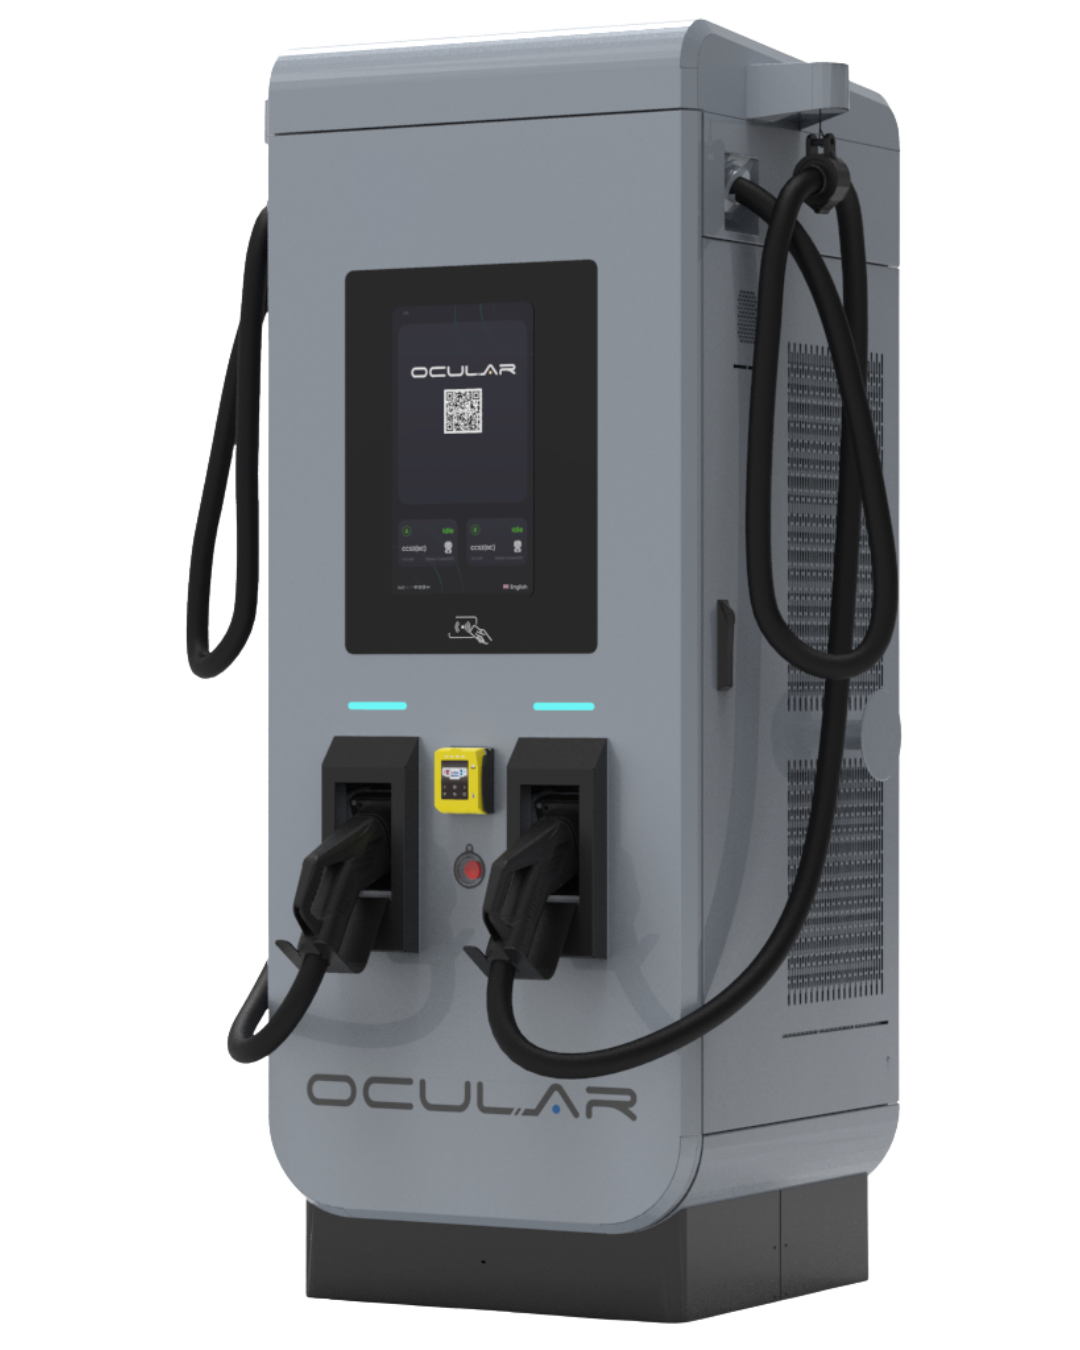
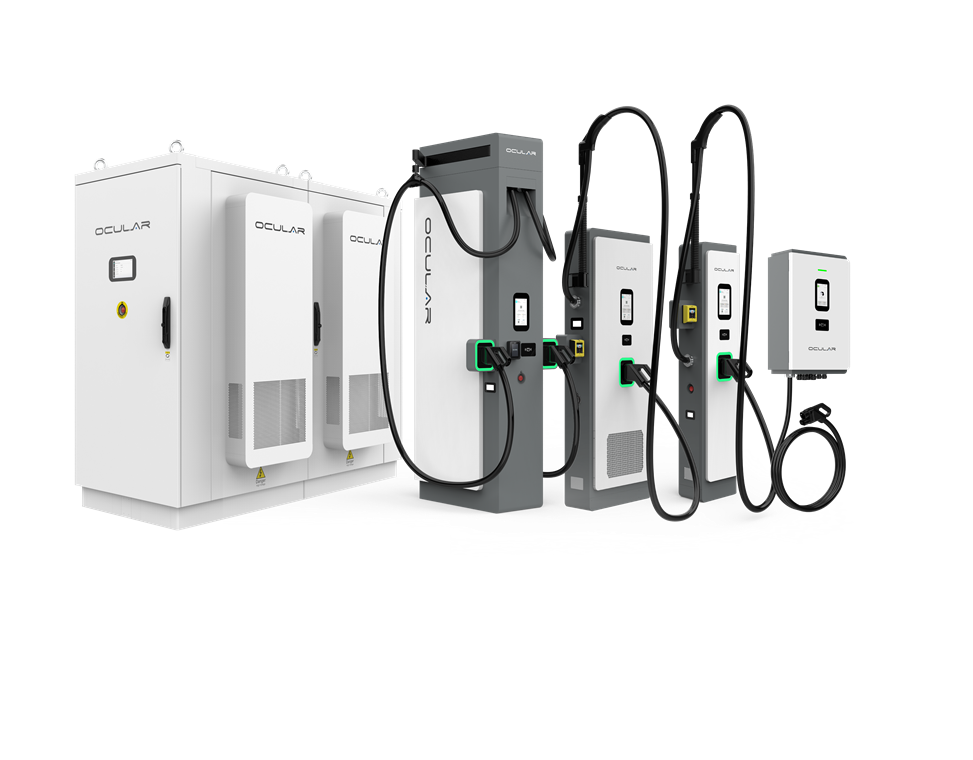
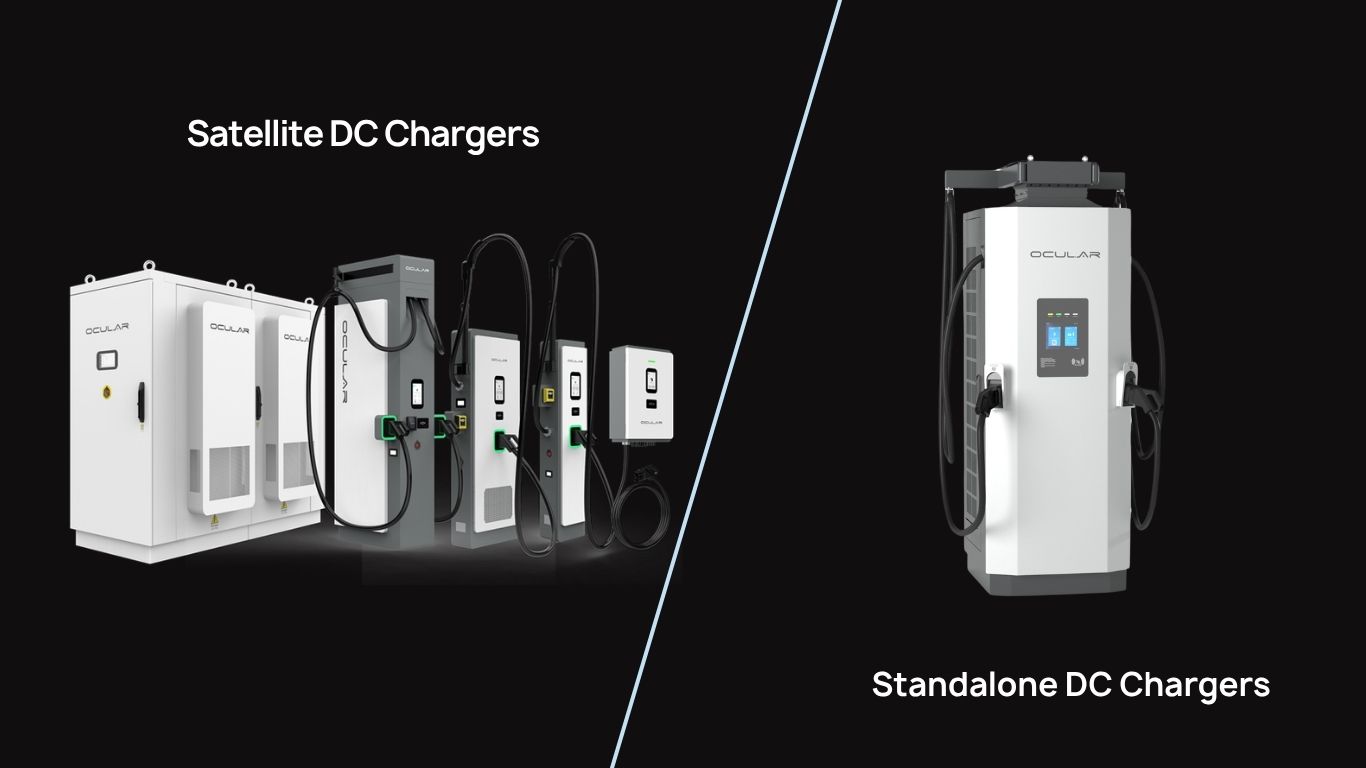
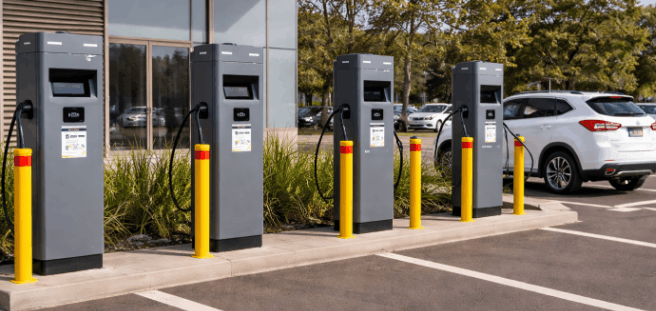
- Level 3 Chargers (DC Fast Chargers) – These are made for commercial use due to the significantly higher demand of electricity.
Steps to Becoming an EV Charger Installer
1.Qualified and Fully Licensed
Electricians must be fully licensed and qualified to meet all Australia Safety Standards and Requirements. Electricians need to do their due diligence in referencing manuals and installation guides specific to each charger before installation, also being aware of local electrical codes to provide safety and compliance.
2.Understand Local Regulations
Every region has its own electrical codes for EV charger installations. Check local government and utility company regulations to meet safety and zoning requirements.
3.Select the Proper Equipment
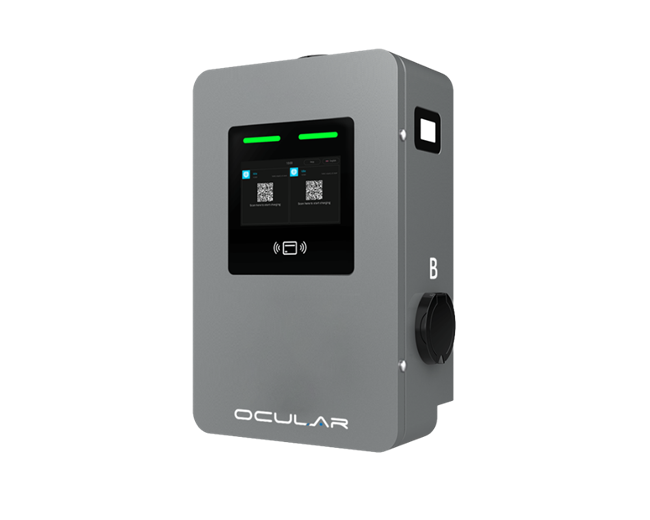
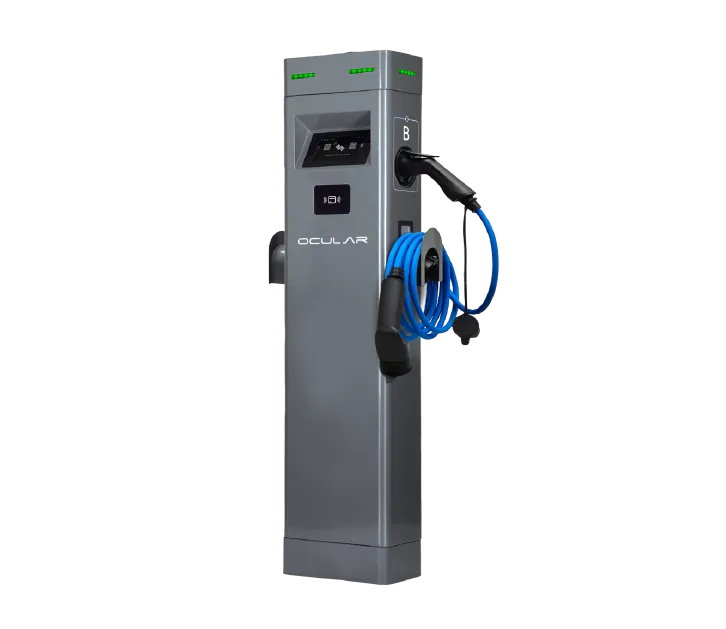
The proper Ocular EV Charger model must be selected. Consider the following:
- Power Supply & Demand of the Premises – How much power is available and what set up they have (Single Phase, Two Phase & Three Phase).
- Solar Functionality – If the client owns a solar system and wishes to utilise the excess solar, you will be required to understand their power supply and solar inverter (single or three phase) to determine the correct variant of charger.
- Customer Requirements – What do they require? A plug & play charger or a smart charger (Bluetooth app or OCPP)
4.Perform a Site Assessment
Check the electrical panel of the home to see if it supports the selected charger requirements mentioned above. Make sure the location of the charger is in a location where it is easy to access and utilise.
5.Safely Install the Charger
Accurate installation entails:
- Mounting the charging unit securely – The chargers come with instruction manuals and a mounting template.
- Conducting proper wiring and conduit – Ideally, we recommend 40A Type A RCBOS and 10mm2 power cabling this is to prevent nuisance tripping and account for 3% voltage drop.
- Setting up Isolator Switches – We recommend setting up an Isolator Switch within a 1m radius of the charger to comply with the Australian safety standards.
- Testing for compliance and functionality – Once set-up, test the charger to ensure that it is fully functional. You can do this via a Metrel Tester or by plugging the charger into an EV.
6.Educate Homeowners
After installation, train homeowners on charger usage, safety protocols, and cost-saving strategies such as off-peak charging.
For further information please feel free to visit our website or our youtube channel, which contain further educational resources.
If you have any questions, feel free to contact us at:
[email protected]
1300 912 650